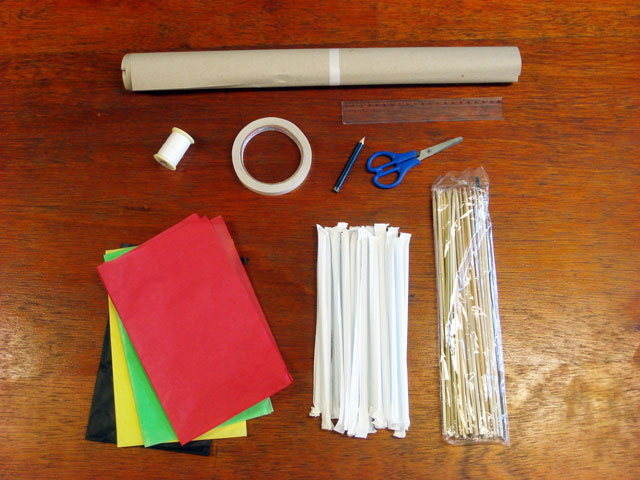
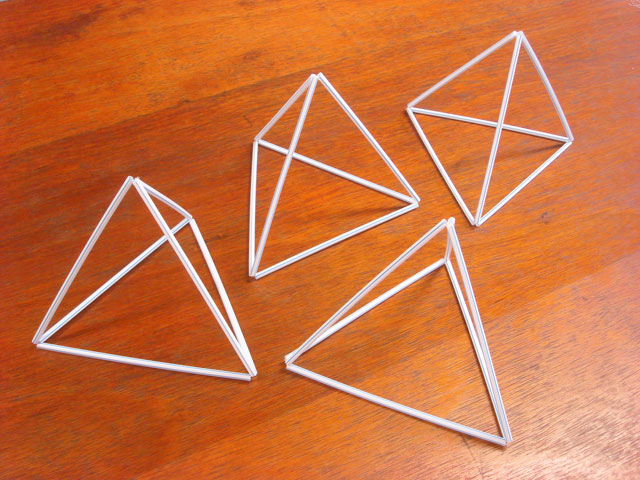
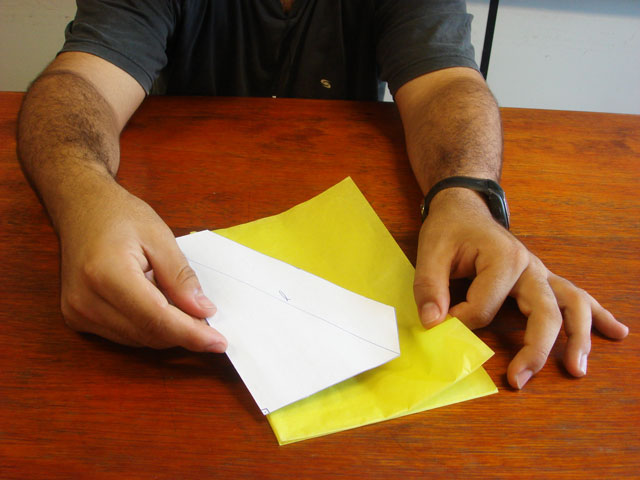
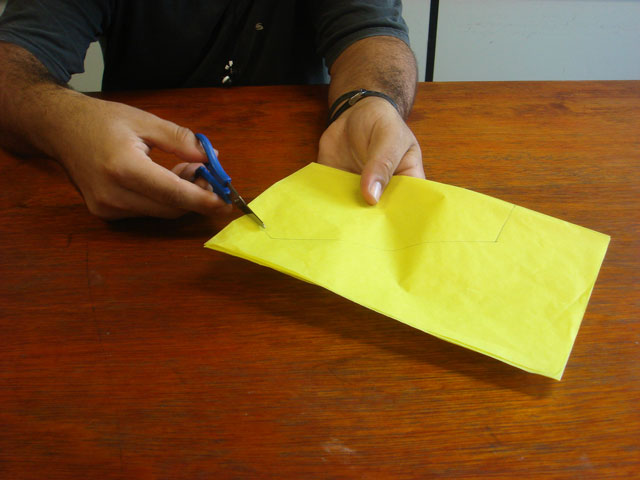
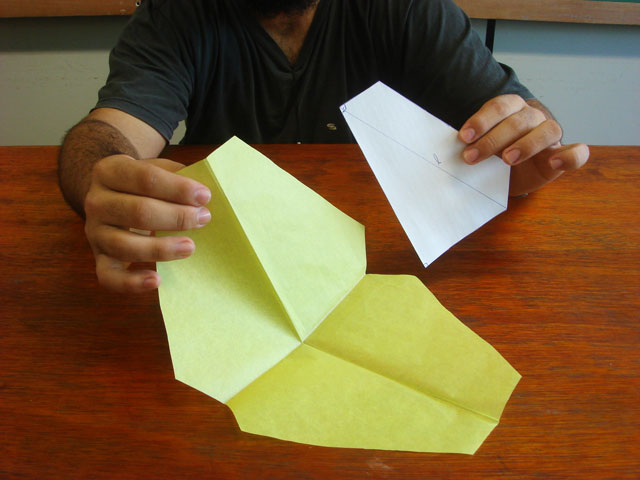
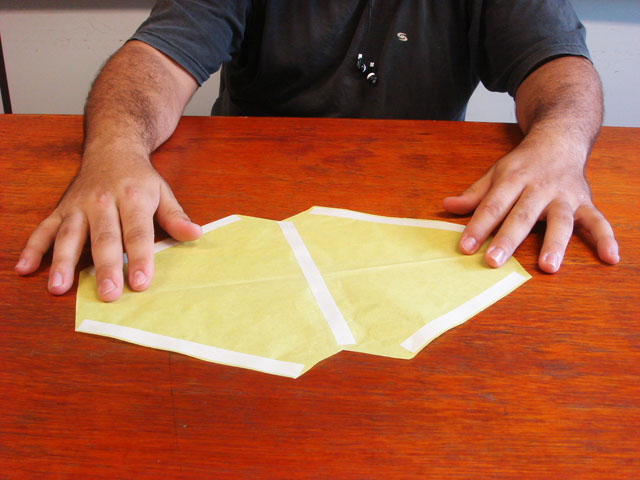
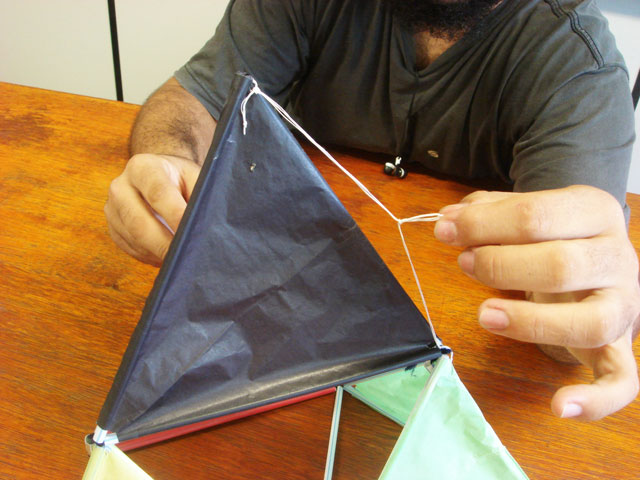
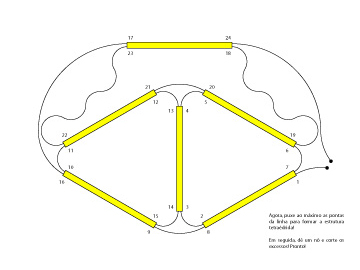
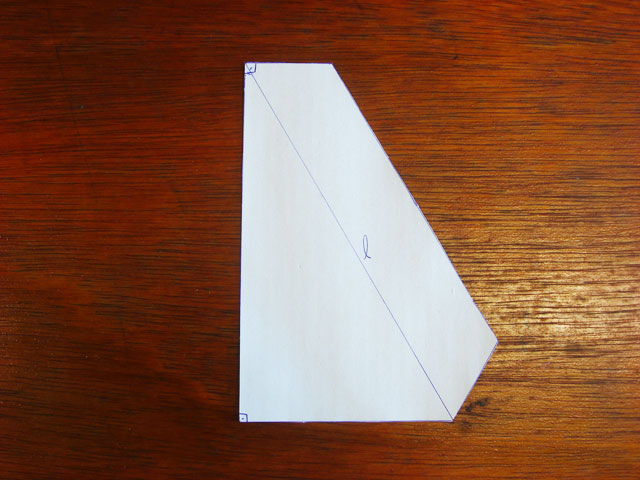
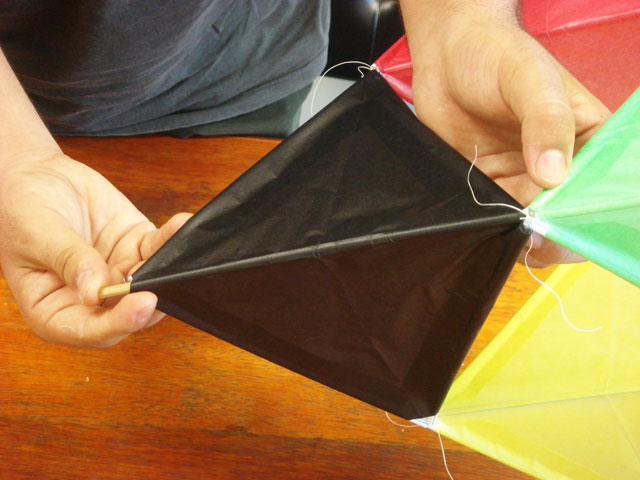
TETRAHEDRAL KITE CONSTRUCTION GUIDELINES


STEP 1

The necessary materials are:

  • 24 straws of the same size (we suggest the least flexible ones);
  • 1 spool of thread;
  • 4 sheets of silky paper;
  • 1 paperboard (to make the mold);
  • 1 double-sided tape;
  • 1 scissors;
  • 1 barbecue stick (to reinforce the structure of one of the straws).


Uma técnica para passar a linha pelo canudo   Uma estrutura tetraédrica montada  Instruções para a montagem de uma estrutura tetraédrica
    

STEP 2

Cut a piece of thread with length equals to 16 L, where L is the straw's length. Pass the piece of thread through the six straws following the order shown in the figure beside (click on the figure to enlarge it). Once this is done, pull the tips to form the tetrahedral structure. Knot it and cut the over.


STEP 3

Repeat the last step three times more to obtain four tetrahedral structures in total.


STEP 4

The paperboard mold for the construction of the kite's lining (wings) is made from the “half” of an equilateral triangle whose side has the length of the straw plus a tab wide enough to cover it.

Click here to download some pre-defined size paperboard molds. Print the appropriate size, paste it on the paperboard and cut it. Your paperboard mold is ready.


Dobrando a folha em quatro   Marcando o molde na folha   Recortando o molde
    

STEP 5

Take one of the sheets of silky paper and fold it in four. Place the vertex of the paperboard mold at the corner where the folds meet (paper's center), accordingly to the photo. Cut the silky paper around the paperboard mold.


Dobrando a folha em quatro   Marcando o molde na folha  
    

STEP 6

Note that the figure created is a rhombus adorned with four tabs. Cut and paste pieces of the double sided tape in each tab and, also, along the shortest diagonal of the rhombus.


Dobrando a folha em quatro   Completando o encapamento de uma estrutura  
    

STEP 7

Take a tetrahedral structure and place it, so its edge is on the middle of the diagonal tape. Lean it over on the silky paper's halves, and wrap the edges that touch the paper with the tabs. Repeat the process with the other paper's half. The resulting object will look like a hang glider.


STEP 8

Repeat the previous steps three more times to obtain, in total, four tetrahedral structures covered with silky paper.


Dobrando a folha em quatro   Completando o encapamento de uma estrutura   Completando o encapamento de uma estrutura
    

STEP 9

Now you will have to tie the structures you just had built. They will be joined by the vertices so that each of the structures has to be connected to the other three. Follow the example of the photos shown beside.


STEP 10

Now we'll make the kite's bridle. The first end of the bridle is tied at the upper vertex of the top tetrahedron, and the other end is tied at the intersection between the two front tetrahedrons as the photo shows. The bridle should be fitted to minimize looseness.


STEP 11

Insert a barbecue stick inside the bridle's edge straw to reinforce it!


STEP 12

Done! Click on the picture below to watch a YouTube video showing the kite in action. You need to be online to watch it.


YouTube Video!


NOTICE

In the classroom, we suggest you divide your students in groups of four or five people. Following the steps described previously, each group can assemble a kite with four tetrahedral structures. This kite can already take flight by itself, but it's also possible to combine these kites to make bigger ones.


Problems? Suggestions? We give technical support! Please, contact us by the e-mail:
conteudosdigitais@im.uff.br.